Getting Booked Basics
Unlocking your Sessions: Your Guide to Scheduling, Availability, and Booking Bliss. Embark on a smooth and hassle-free journey through this basics of getting booked. Discover how to effortlessly navigate our platform, set your availability preferences, sync your calendar, and unlock the magic of the booking process, ensuring a stress-free and rewarding experience at every step.
Welcome to Expert Session! 👋 We’re thrilled to have you here. Getting booked is how you share your knowledge and connect 1:1 with others (& of course, get paid). We're here to make sure that you can do what you love without any hassle. In this guide, we'll cover all of the basics around getting booked so that you can be set up for success. Let's get started!
Knock knock. Who’s there? You are… when you set your availability.
For Learners to knock on your virtual door (aka book a session), you’ll need to add your availability. Click the drop down menu next to your photo in the upper right corner > Settings > Availability.
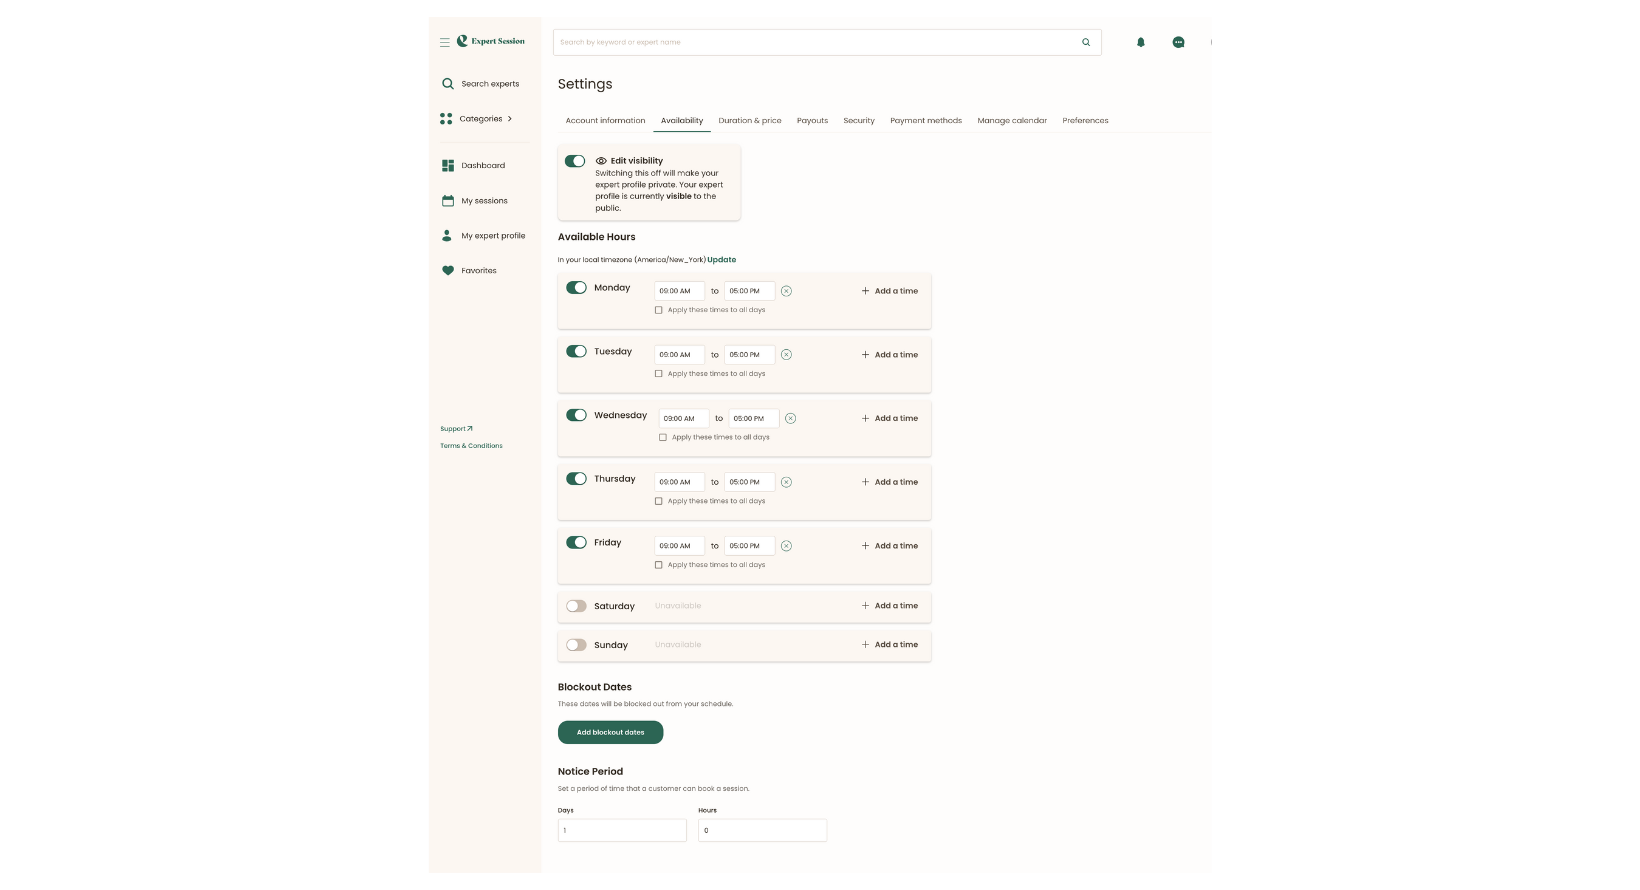
You likely already set some baseline availability during the setup process, but it’s important to spot check on a regular basis and make sure this is up-to-date.
If you’re taking time off in the near future and don’t want to offer sessions those days, set them as Blockout Dates so they’ll be blocked from your schedule. Simply click the "Add blockout dates" button to add these dates by navigating to settings and then to the Availability Tab.

Lastly, set your Notice Period; Notice periods can be set in Settings under the “Availability” tab. A "notice period" refers to the amount of time you require as a buffer and heads-up between sessions. It's tempting to add large notice periods to give yourself ample time to prepare and be notified of a new session being booked. However, it's important to consider how this will impact your availability on your profile and how many slots someone will see as options for booking with you. Ideally, you want to offer as much availability as you can honor to ensure you and the potential learner can connect. For this reason, we recommend setting a notice period of 30 minutes or an hour, depending on how much time you need to prepare between sessions and considering how many sessions per day you aim to schedule. (The default notice period is 1 hour)

Seamlessly connecting your calendar
Within the Settings menu, travel over to ‘Manage Calendar’ and click the ‘Add calendar’ button. Within a couple more clicks, you calendar will be connected to our platform, so that any time a session is booked, it will add that session to your preferred online calendar allowing you to get additional notifications and track your sessions outside of the app.
Here are a few things to keep in mind:
- At the moment, we only have a Google calendar connection available. However, we're always working on improving and adding more options in the future, so stay tuned!
- It's important to note that this calendar connection won't scan for any scheduling conflicts. To make sure you're available for your session, please adjust your Availability within Settings accordingly based on any prior commitments.
Woohoo! Someone booked a session. Now, where do I find it?
No need to embark on a scavenger hunt for your booked sessions! You can find them in 2 places, both on your left sidebar:
Let’s break these sections down -
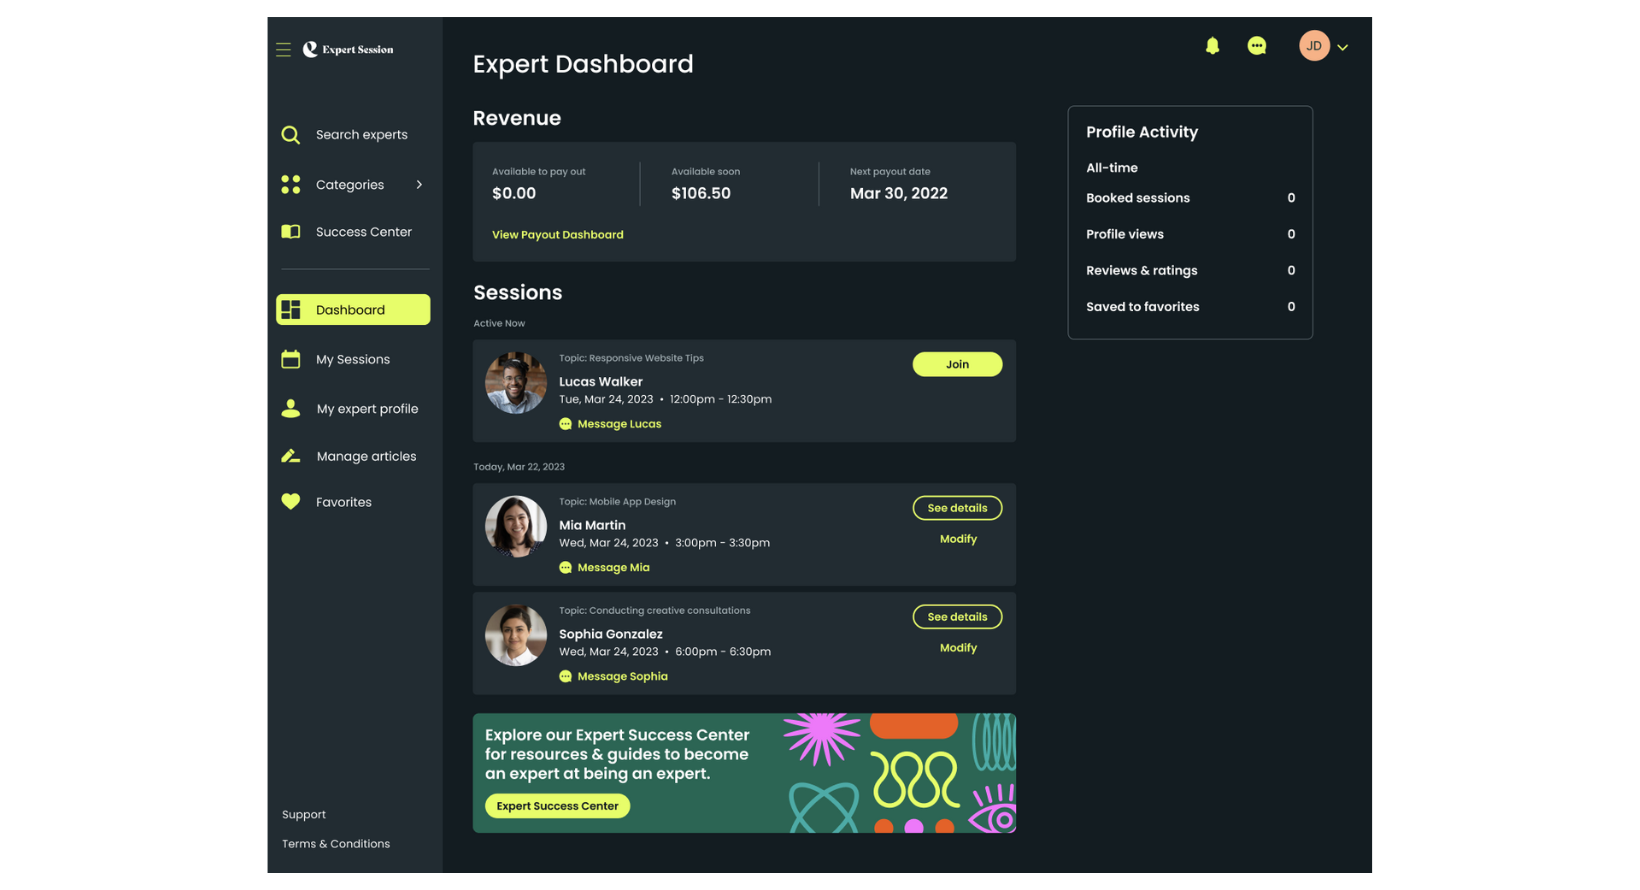
The Expert Dashboard is your portal for managing your business effectively. Here you’ll find:
- Revenue: How much money you’ve earned from booked & completed sessions
- Sessions: All scheduled & upcoming sessions
- Additional Guides and Tips to help you be successful (like this one!)
My Sessions is your one-stop shop for viewing and managing your sessions. Here you’ll find:
- View Schedule:
- A month-by-month calendar view where you can click on specific days to view those booked sessions
- A list of All Sessions booked
- Upcoming: Any booked sessions that are coming up
- Past: Any booked and completed sessions from the past
- Cancelled: Any sessions that were booked but cancelled
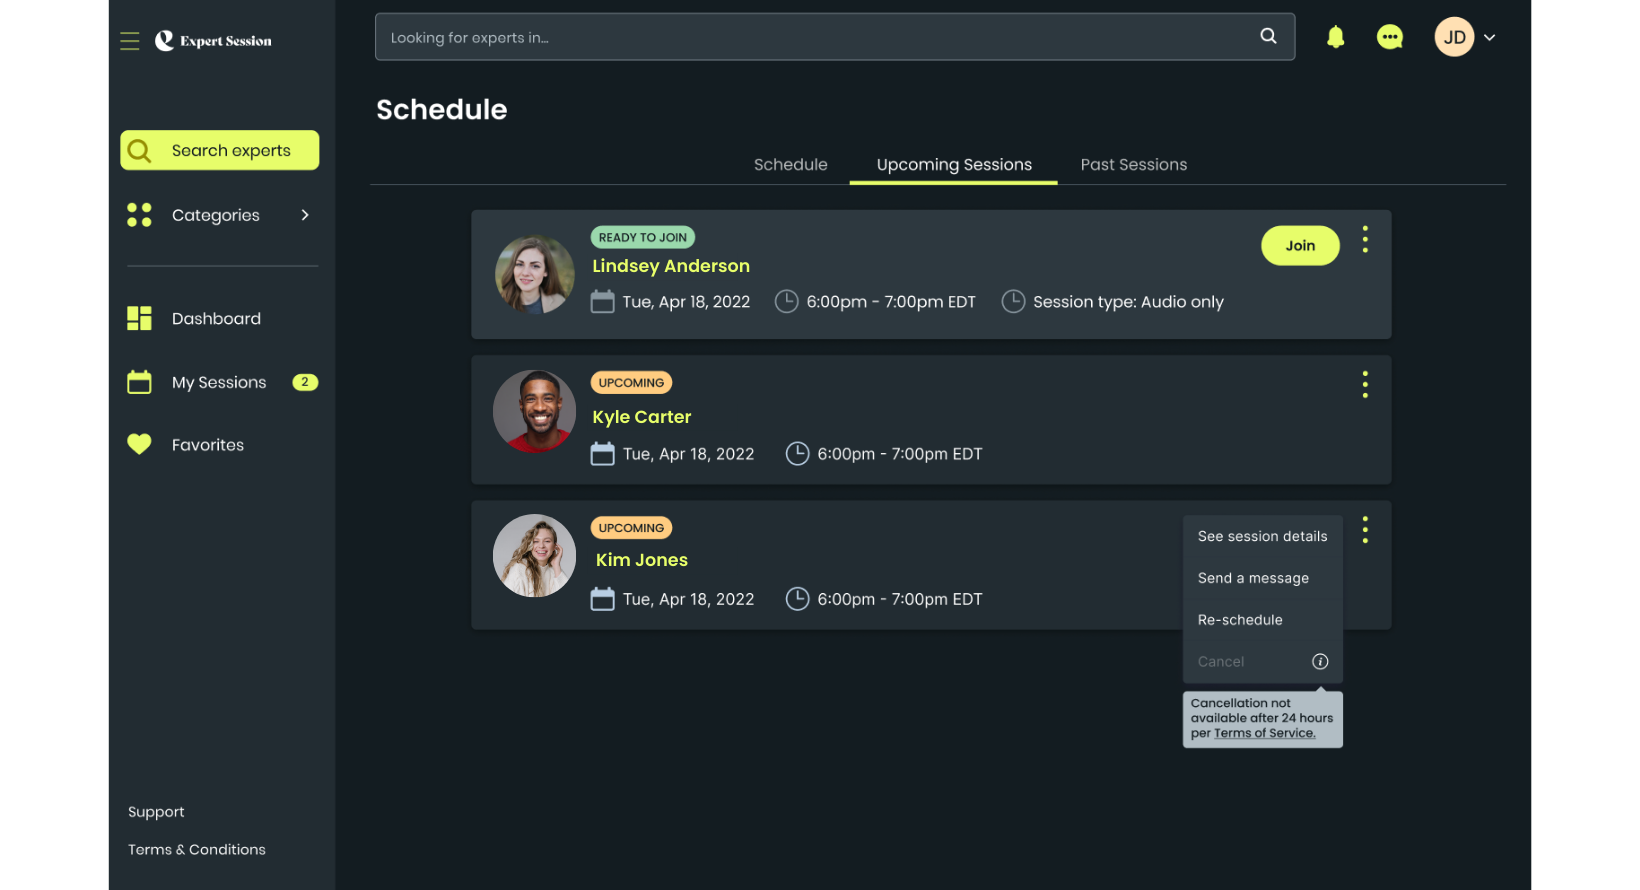
To dive deeper on any booked, upcoming session, click the ‘See Details’ button. A new Upcoming Session view will open up where you can see everything you would need to know:
- The Learner’s name
- Date, time, and cost of session
- A Join button - this will be greyed out until your session begins, since this is where you’ll access the session’s video connection
- Chat - any words exchanged between you and your Learner before your session
Pre-session chat: What's the buzz about?
When someone is booking a session with you, they have the option to shoot over a quick note.
As a best practice, if you see a chat for your Upcoming Session, send a reply, even just to acknowledge you got their message. No need to write a formal “Dearest Learner, Sincerely Yours” email here - keep it simple & casual. As an example:
"Hey [First Name], Sounds great - looking forward to chatting soon!"
Sometimes, the learner may not specify what they’re looking to chat about. If you’d like - you can always send them a chat to ask, or you can wait to clarify live during your booked session.
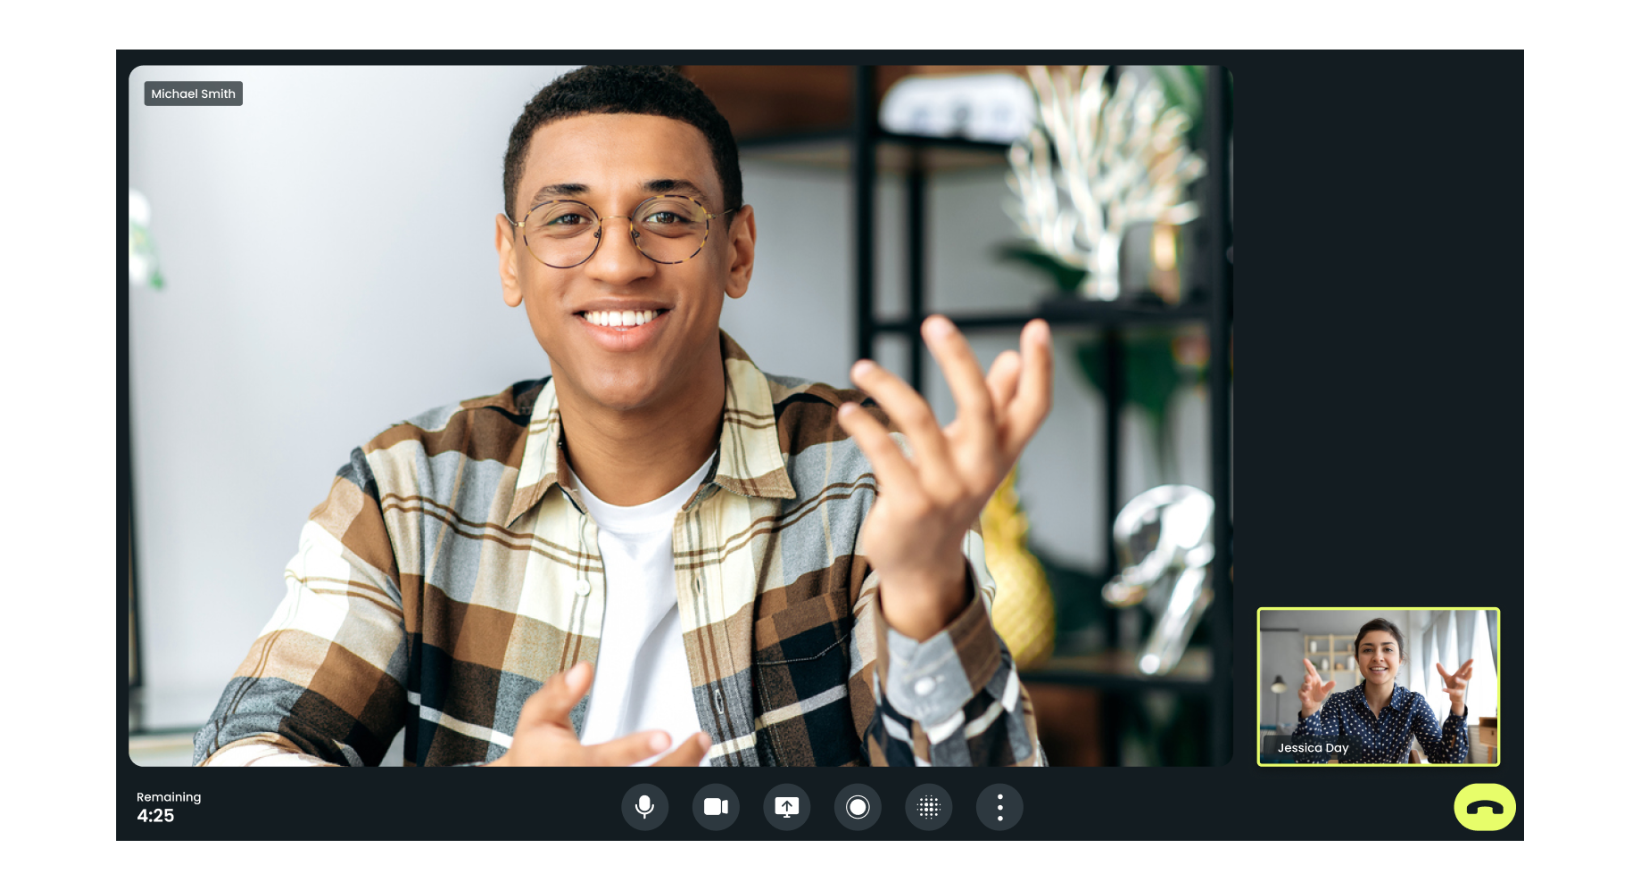
The last step to booking bliss? Enjoy your session!
You and your Learner will both receive upcoming session reminder notifications via email and within the app 10 minutes before the session starts to remind them to join. These reminder notifications are automatic, so we got you covered!
As a best practice, sign into the Expert Session platform about 5-minutes before your session start time. Navigate to either Dashboard > Sessions or My Sessions, click the See Details button on that upcoming session, and click Join.
Once your Learner hops on, your booking bliss turns into session magic!